Wednesday 28 December 2016

DIY Celebrations | Prosecco Bar

All the yays.  A Prosecco Bar that you'll want to have all year round, but will be a pretty sweet addition to any post-Christmas/New Year/any-excuse parties that you may be throwing before we all return to regular life.

Hello.  I hope you had a wonderful Christmas weekend, whatever you were doing.  I was hit with the lurgy just in time for a Christmas Eve in bed, so apologies it all went quiet here.  But today I am back with a quick DIY idea for seeing in the New Year, whether you are having a quiet night in or a party.

This is my base - an Ikea Vittsjo which will become my bar.

I created a menu sign using a DIY from the past: Chalkboard Frame and *attempting* some chalk calligraphy for added decoration:
To make some Prosecco Cocktails, I have some elderflower syrup, Chambord and for some additions - a little pick'n'mix section with blueberries, raspberries and cherry popballs from Lakeland.  They have shimmer in them too - making you the winner of Prosecco bars:
If you are feeling really fancy, these Hibiscis flowers look a.ma.zing.

A few Prosecco sweets: gummies [classic and fizzy] from Lakeland and humbugs from Hollys Lollies.
A few lights [the star is from Primark and the string lights from Asda] and my bar is complete.  This is where you will find me until January 2nd.

See you in 2017!

P.S - I cannot let this tub of prosecco flavour frosting go without notice either.  I mean, hoorah.

This isn't a sponsored post, but some of the links used above may be affiliate links [you can read more about this here].
Share:

Thursday 22 December 2016

DIY Christmas | Mince Pies & Crumble


At the end of last year, I resolved that although I was sure I didn't like mince  pies, I was missing out on a huge Christmas tradition and that I should change that for Christmas 2014.  I tried - even with a ratio of around 2 parts cream, 1 part mince pie - I'm still not keen........disguise it as a crumble? Let's give it a go.
Share:

Sunday 18 December 2016

DIY Christmas | Pipecleaner Decorations

One week today!  This is my last DIY craft before the New Year and it's a nice a easy one.
Sometimes, the best DIYs are the simple, afternoon-in-front-of-a-movie crafts and today, you can add to your decorations with an easy and very cheap-but-chic pipecleaner make.  We're taking it back to pre-school crafting.

Share:

Friday 16 December 2016

DIY Christmas | Iced Biscuit Christmas Tree & Mug Biscuits


Christmas food that isn't a Christmas Pudding?  I know!

Share:

Monday 12 December 2016

DIY Christmas | Ivy & Star Wreath


Another day, another mantle photo.....

Share:

Sunday 11 December 2016

DIY Christmas | Hammered Clay Star Decorations

Because, last weeks garland was not enough - here's another craft that could be used in many different ways - hammered clay stars!
Share:

Sunday 4 December 2016

DIY Christmas | Movie Quote Garland

Nothing says Christmas to me like a Home Alone quote.  Here's a DIY that lets you hang one from your mantle/on your wall.

Share:

Saturday 3 December 2016

DIY Christmas | Mini Wreaths


Mini, cute and simple, you can hang them all over the house, string them together as a garland or create one large wreath from them all.  I'll be adding them to my presents this year as tags.

Share:

Thursday 1 December 2016

DIY Christmas | 6 Christmas Puddings


Happy December! It is that time again - lets take sweet food and turn it in to Christmas Puddings!
These are perfect for Christmas parties, work-dos and to wrap up as gifts - and they only take minutes.  Here's a round-up of 6 of the best.

Share:

Sunday 27 November 2016

DIY Home Decor | Fragrance Diffuser


Creating your own home scents is easier than you may think and make great gifts.


| WHAT YOU NEED |
Almond Oil / Fragrance / Containers / Reeds / Nail Varnish

| HOW TO MAKE IT |

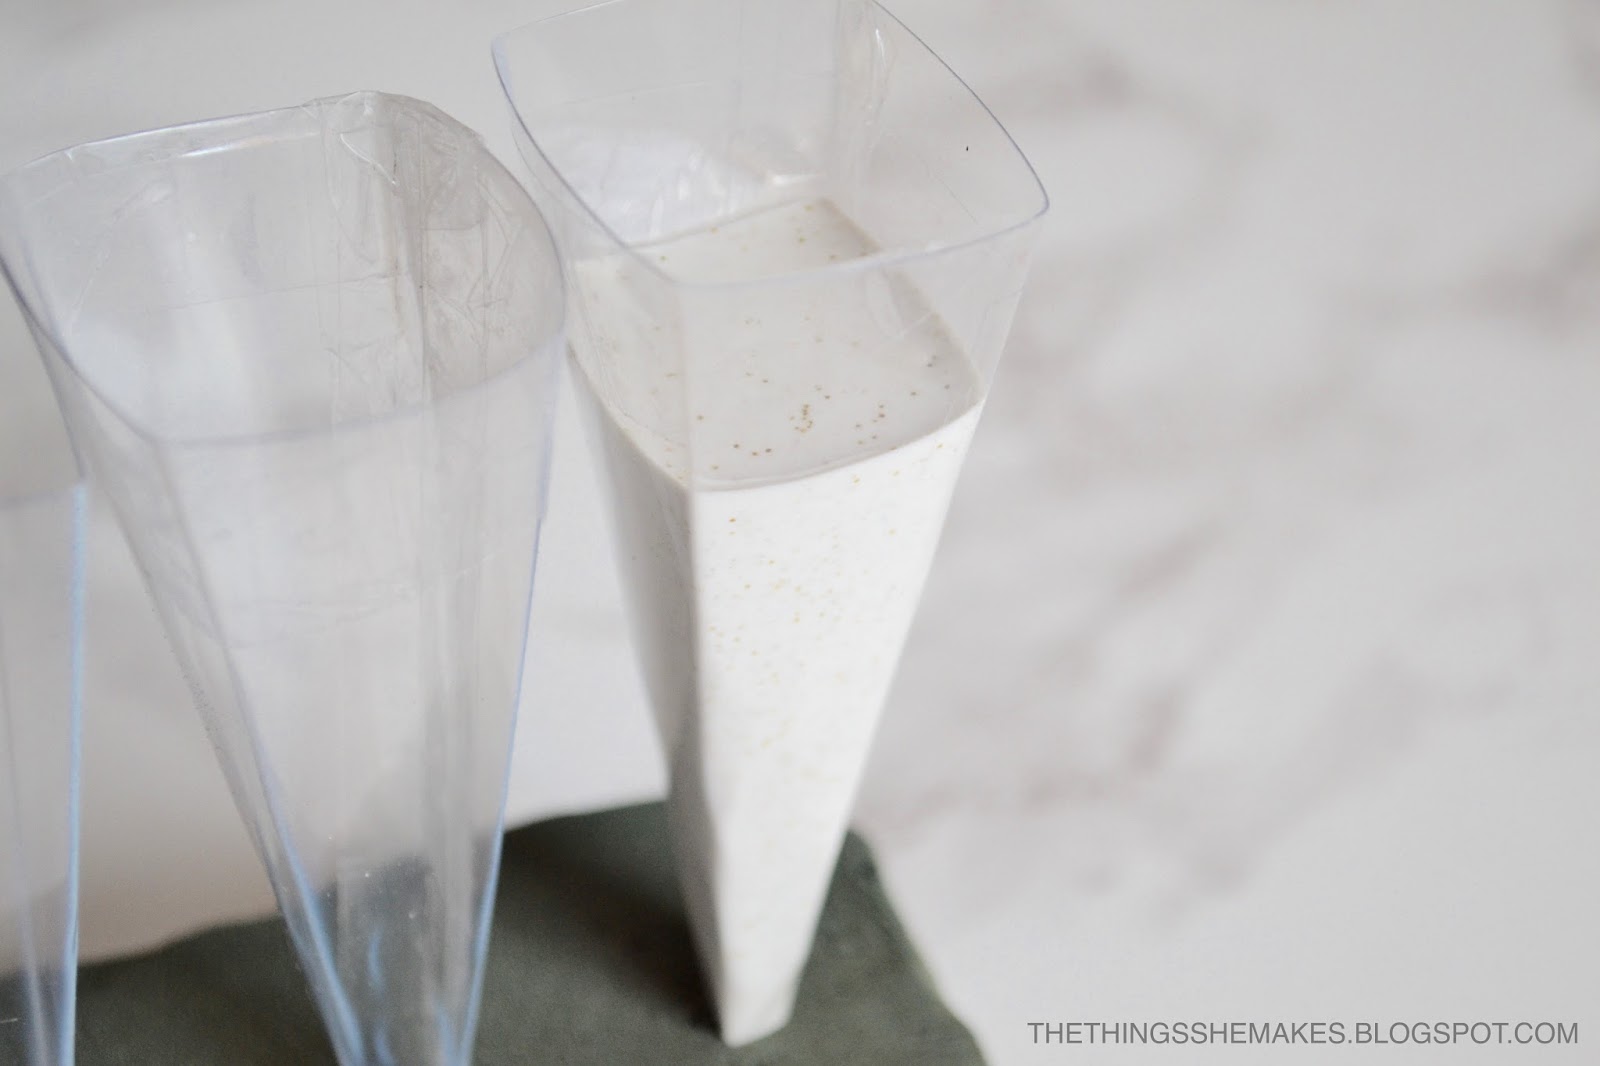
For the container, you need something sturdy, flat bottomed and with a narrow opening.  It was not as easy as I hoped to find something like this as a single item.  A narrow opening will keep all your lovely fragrance contained and hold your reeds in place.
Nearly giving up, I used something cheap and to hand - spare travel containers.  I have a few diffusers that have beautiful large, square containers, but they take up a lot of room and I was on the look-out for something smaller and slim-line. 

The plastic container also meant I could decorate it with my favourite quick decoration method - nail polish brush strokes. I chose a gold colour and made light strokes of the nail polish around the base in various directions to add a little detail:
No brush washing needed and it dries in minutes!

The Base and Fragrance:

You can make your own scents with the choice of two bases.  Vodka [no, no, no - I'm drinking that] or Almond Oil.  The only difference this made to me was that the colour of the vodka base would be clear and the almond oil yellow - so something you may want to consider if you have chosen a clear container.
I chose something sweet and citrusy for my fragrance - sweet orange - and it will blend nicely with the candles I am starting to burn around this time of year.
You also have two options for the diffusing: Bamboo skewers - anyone who knows me [or reads this blog] knows I love a marshmallow pop, so I have hundreds of these around, or reeds, which are easily available online [or, like me, may have some spare from other diffusers].
The balance of oil and fragrance will depend entirely on how 'strong' you want the scent to be.  The balance I found to work was adding 2 parts oil and 1 part fragrance, which was a small amount considering the size of my container and gives me plenty of top-ups to come.
I also create a spray using exactly the same method and it has been perfect for bursts of fragrance in the kitchen and areas where I can't sit a diffuser, such as the hallway.
Create a combination of someones favourite scents and you have a great gift too!
I'm still on the hunt for the perfect glass bottle - let me know if you find one!  If you have a favourite perfume that has now run out and want to keep the bottle, it's also a great way to display this too.
Share:

Friday 25 November 2016

DIY Black Friday Deals 2016


Get your make, bake and create on.
Here's a round up of some of the deals I've snapped up, or am using today as a bit of a nudge!

Tee-Pee | Black Friday Price £30 | Buy Here
I've bought one of these and am adding a few extra panels, garlands, mobiles and flags for my Nephew and Niece for Christmas.

Believe me when I say this IS NOT just for the kids - I am so tempted to keep if for myself. To sleep in. Seriously.

Foiling Machine | Black Friday Price £40 | Buy Here

I've snapped up one of these - expect 2017 to be full of foiling DIYs! Review and demo to come soon.

Advent House | Black Friday Price | Buy Here
This is gorgeous, but can be easily personalized with a few DIY embellishments - it lights up to and I can't wait to add mini wreaths, bunting, holly etc. to personalise it.


Storage Holder | Black Friday Price £14.99 | Buy Here
Hear me out on this one - it has become the best glue gun rest as I am continually convinced I will burn my carpet / house down one day due to the annoyingly short lead and lack of space to leave and cool down. 
Also handy for it's intended purpose.....


Tree Cutter | Black Friday Price £4.99 | Buy Here


No-one has any time to do anything at Christmas, so help yourself make multiple clay decorations or biscuits with this multi-cutter.


Reindeer Treat Boxes | Black Friday Price | Buy Here
Need something to put those tree biscuits in?  These are cute and I may have a video for some other ideas of what to put in these on Wednesday for you!


The ultimate Black Friday treat, should this be all the motivation you need.............
Cricut Explore Air | Black Friday Price £200 | Buy Here
21% saving


It's not cheap - but every saving helps and - look at it!
Anyone want to share some justification for buying this? Who am I kidding, I don't think I need any persuasion!

Happy shopping!


Please note that the links above are affiliated - you can read a little more about this here!
Share:

Sunday 20 November 2016

DIY Accessories | Glitter Pyramid Ring Holders

Pretty, functional and glittery ring holders that make perfect gifts too.
Yes. Glitter.

| WHAT YOU NEED |
Perspex Sheet / Gold Glitter / Scissors / Sandpaper / Plaster of Paris / Sellotape

| HOW TO MAKE IT |

I created my own moulds from a plastic sheet.  It's easy to make and allows you to fully customise your ring holders.

Use the template below to cut your moulds - you can use this to create a cone ring holder or, as I did, pyramids.  Cut your plastic sheet [O.H.P paper to you and me and anyone around and above the age of 30!] to provide a sturdy and water tight mould:

To create pyramids from the template, once cut and taped at the seam, simply fold the cone down the seam and opposite side and then do the same in the opposite direction [the video on my YouTube channel will help if my explanation doesn't!]
Don't worry too much about the opening of your mould being level - this will be resolved by itself once the plaster is poured in.

To hold the moulds in place, I used some spare foam from this Gift Box DIY as a stand.

Following the instructions, I made my plaster mix [more detail in this gemstone photo holder DIY and video] and then separated in to two cups.

I then added glitter to one of the cups [I know, shocking] as an experiment [FYI - I also tried a marble effect with paint - this doesn't work!] and to add a bit of sparkle to the finished holder:
I filled one mould with the glitter mix, one with the plain mix and then with the leftovers, created a hybrid, gradated effect, adding plain plaster to two thirds of the mould and then plaster with glitter mixed through to the final third:
Sitting in the floristry foam, the plaster levels and any splashes can be broken off and 'made good' later on.  Leave your plaster to dry fully [follow your instructions, but I left my plaster overnight] before removing the moulds:
...and sand your plaster down to smooth any edges.  I also sanded quite a bit over the plaster with glitter mixed to help the sparkle shine through:
Display your rings in sparkly style:

Ring holders make great gifts as well, so there's plenty of time to give this a go and wrap in time for Christmas [why not display in this stylish DIY?].
Share:

Wednesday 16 November 2016

DIY Home Decor | Wire Star Grid


| WHAT YOU NEED |


| WATCH THE VIDEO |


| HOW YOU MAKE IT |


I bought a roll of grid wire, as this was much cheaper and the wire slightly thinner, making it easier to cut through.  It needed a little moulding to make the wire flat - I rolled it in the opposite direction and carefully bent a few sections to make the wire easier to work with.


You can make your wall grid any shape and size but for anything other than a square, grab some washi tape to help you mark out the outline of your shape - you can easily review the size and move lines around until you are completely happy with the look:
To ensure that the shape would stand or lean as well as be fixed to the wall, I made the points of the star square and flat.


When you are completely happy with the outline, take your cutters and begin carefully cutting through the wire in line with your washi tape guide.


To make your cut wire safe, bend the exposed wires over and flatten with pliers to remove the sharp edges:

Once your wire is all made safe, you can display your grid star and begin using it!
Mine is currently on top of my desk, but this was also completely created with Christmas in mind - perfect for wrapping lights through and clipping Christmas cards to.
Share:

Sunday 13 November 2016

DIY Fashion | Jewelled Heels

DIY the ultimate styles-up party season heels.

| WHAT YOU NEED |
Shoes | Glue | Gemstones [flat-backed] | Skewer / Tweezers

| WATCH THE VIDEO |

| HOW TO MAKE IT |

This DIY is so, so simple - the hardest part is committing to the design and sticking the gemstones on to the heel.  
I was fairly random in my design pattern and the size of my heel dictated much of where I placed the gems, but you can google an image or sketch out a design to help guide you.
I found adding the glue to the back of the gemstones with a skewer the easiest [and least messy] way to get them attached - but a pair of tweezers might also help you get them in place.

I started in the top centre:
...and worked my way out to the sides:
...then down the heel:
TIP: If you are unhappy with the placement of your gems, it takes around 10 minutes for the glue to set, so you can change your mind!  Also, don't worry if any glue spreads from the gemstones to the heel - this will dry clear or can be removed with the point of the skewer].
 Leave to fully dry before having the ultimate party heels to dress up any outfit waiting for you.


Gemstones are available in all shapes, sizes and colours, so you can be as creative as you want! Let me know if you give this DIY a go this [or any] party season.
Share:
© The Things She Makes | All rights reserved.
Blog Design Handcrafted by pipdig